


"Decorate your blog with tutorials provided. Please click on a category tutorials on your right side to see more tutorials. Most widgets tutorial are compatible with the basic template that has been provided by blogger.com. Some widgets, maybe not for a specific templates that are provided by other personal bloggers. But you can try it first. If it did not work, please remove this widget from your blog. Good luck."
Add More the "add a gadget" at Top Header
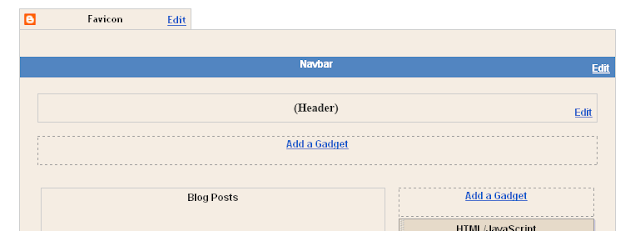
Before:
After:
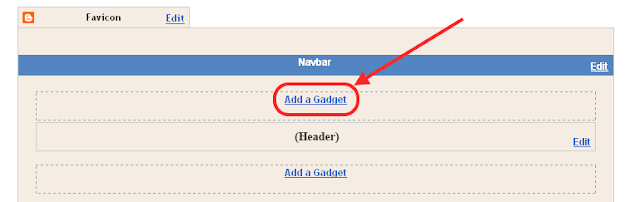
There are some templates that have room to add a gadget in the header, and there are also some that are not. To add the "Add A Gadget" on top of the header is easy, follow the tutorial below:
Here's how:
1) Sign in blogger account
2) Dashboard> Design> Edit HTML> Tick the box "Expand Widget Templates"
3) By using ctrl + F (press simultaneously on the keyboard), find the code
<b:section class='header'
4) Then, in line with the code <b: section class = 'header' tu, you'll see the code like this:
<b:section class='header' id='header' maxwidgets='1' showaddelement='no'>
5) Ok, now delete the above code, and place the code below:
<b:section class='header' id='header1' preferred='yes'>
6) Then click preview and if no error click save template.
Please read more others tutorial about blogger blog and widgets.
Thank you for read...happy blogging......


0 comments:
Post a Comment