


Usually, we only always create post articles at our own blog. Sometimes there are some important articles specific blogger posts, until overlooked by others internet browsers that visit your blog, when you post significant downward or to the next page, when you post too many articles, that have been conveyed. Therefore, important articles specific post from you can not read or known by other internet browser have already stopped at your blog. Because too often pressing the next button, internet browsers that visit to the your page were going to leave from your blog, very detrimental. How to solve this problem?

Why you must this both tab?
You write about multiple topics, lets say “special offer” and “contact us” are a few of them. You want your navigation menu up at the top of your blog on Blogger to display these categories (so you want the words “special offer” and “contact us” in your navigation/pages menu) and when people click on the word from the navigation menu you want that page to display all the posts that are about that topic. So when someone clicks on “special offer” all your special offer posts show up. When someone clicks on “contact us” your page about contact us come up, etc…..
Please follow step by step.
We start first with tab menu " Page ".

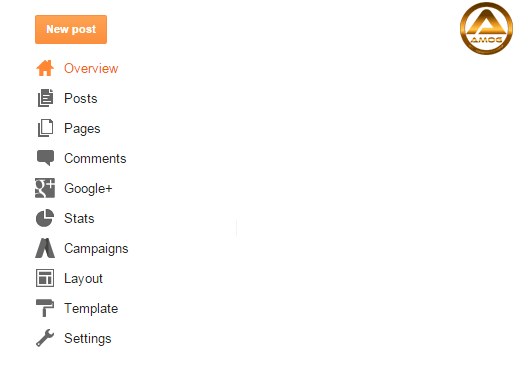
2) Go to dashboard menu, click " Layout " .
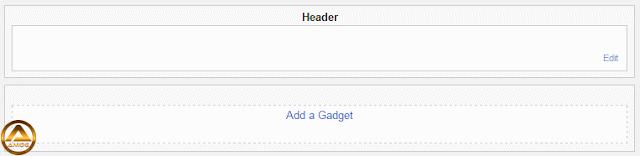
3) Below header, click text " Add a Gadget "
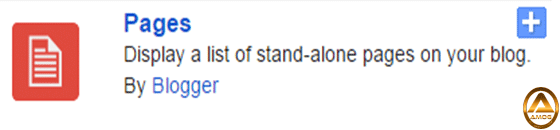
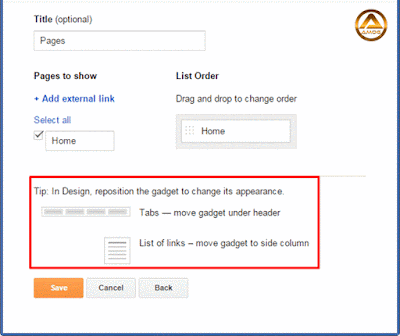
4) Select " Pages " and click " + " to insert tab pages to your blog layout.
5) Click button " Save ".
Done!
You can place link at + Add external link for important articles specific blogger posts or other site page view. Inside the red box mention about, you can move tab under header or to side column.
You can decide later to make category page menu page. Click here for tutorial.
Second, with tab menu " Label ".
Please follow steb by step.
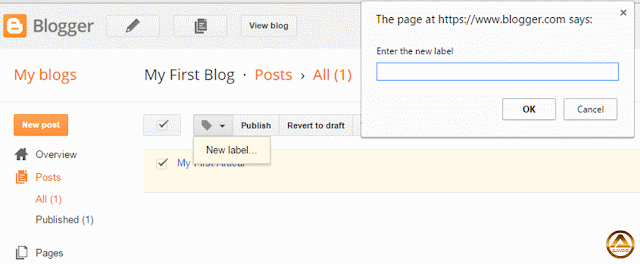
1) First, you must already have article post in your blog. At your post section, you can see your article post title. At the left article post title have small blank box, move the mouse to the box and click. Tick will be appear inside the box.
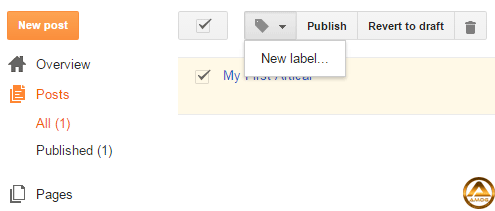
2) In the blank space box, please enter the word category for your article post title, click " OK ".
3) Then, go to " layout " section. Click " Add a Gadget " at sidebar column.
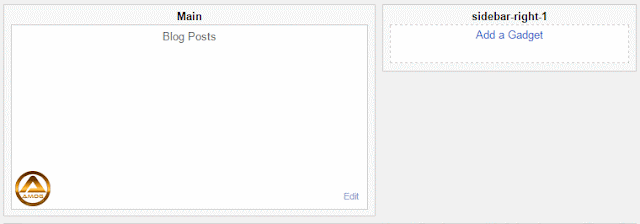
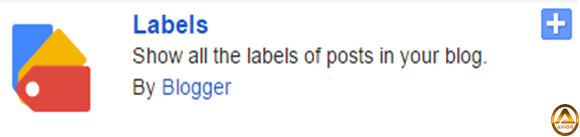
4) Select " Labels " and click " + " to insert tab labels to your blog layout.
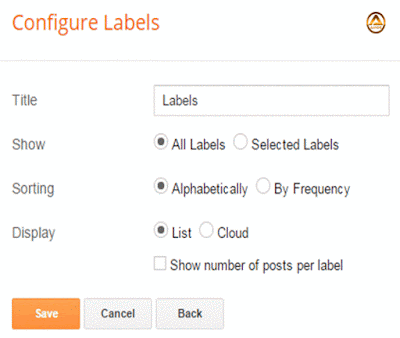
5) " Labels " word, you can change the word " Category " etc.. or keep the " Label " word.
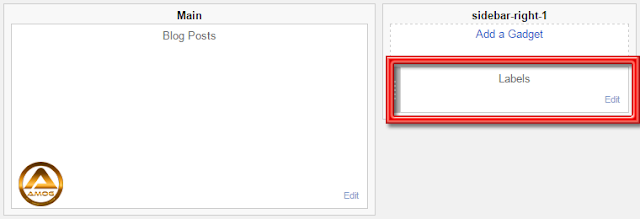
6) Now, you can see the " Labels " already add to your layout sidebar.
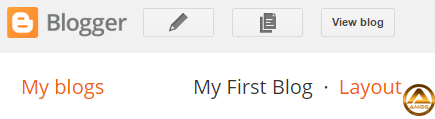
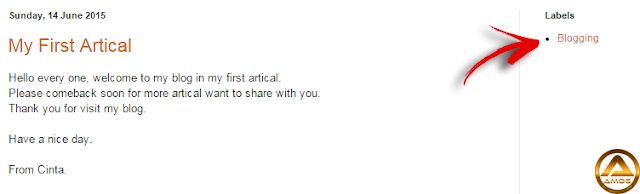
7) To see your tab " Label " at your page blog, click button " View blog "
8) Now, on your right, you can see the display labels in your blog page.
Done!
Please read more my others article about blogger blog and tools.
Thank you for read...happy blogging......


I high appreciate this post. It’s hard to find the good from the bad sometimes. but I think you’ve nailed it! would you mind updating your blog with more information?
ReplyDeletelabel designs free download